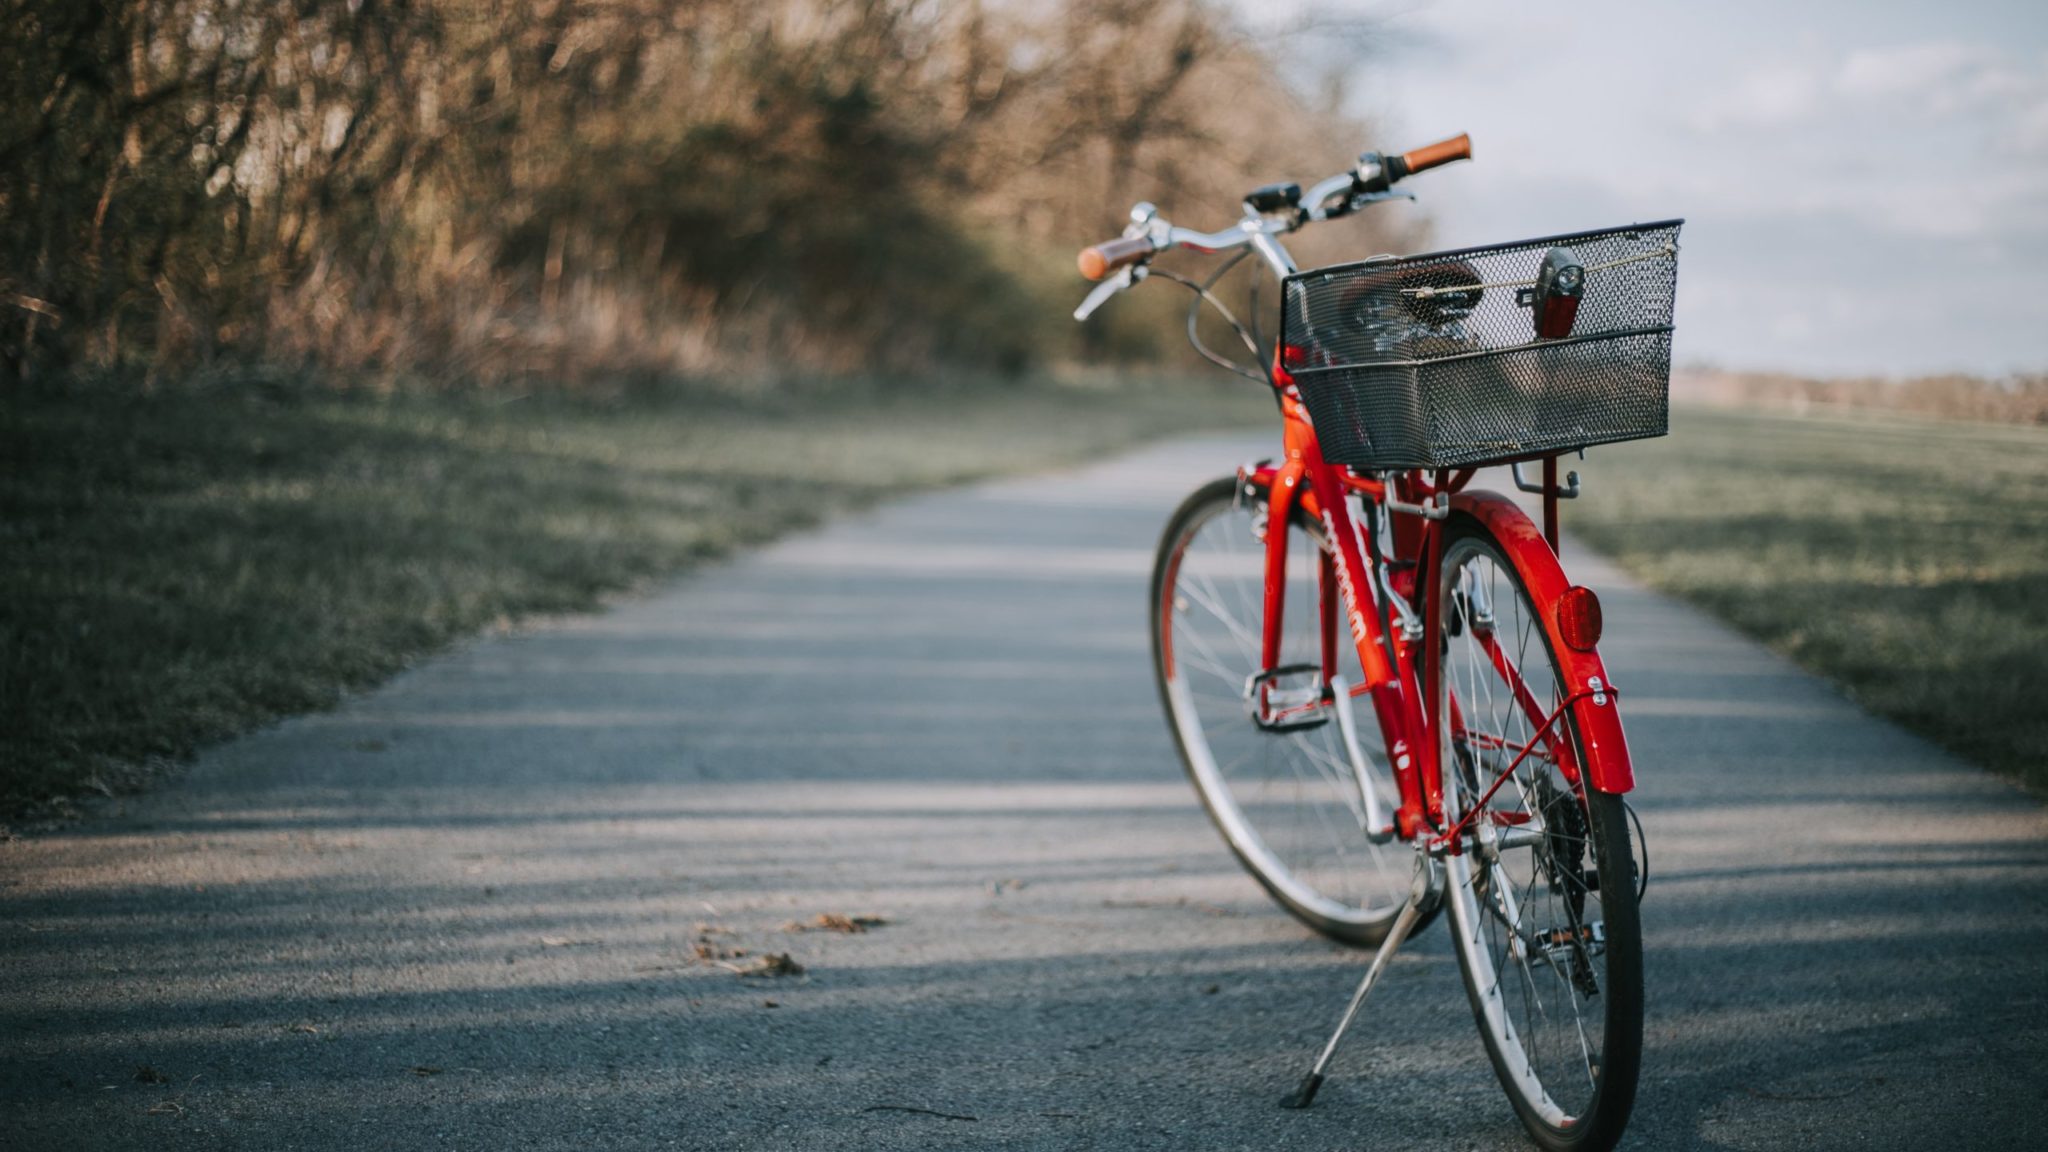
With the beginning of spring, the cycling season is officially open again – warm temperatures and long spring evenings invite you to enjoy extended bike rides. During winter, bicycles are often hardly used or not used at all and frequently gather dust in the basement or storage room. To help you start the spring with a safe and clean bike and avoid accidents or other inconveniences, we are sharing tips, tricks, and practical instructions on how to get your bike ready for spring. This way, you don’t necessarily have to take your bike to a repair shop – you can get it back into shape all by yourself. Let’s get started!
Spring Cleaning for Your Bike
First, you should clean your bike. A clean bike makes it easier to spot any damage or issues. For this, it’s best to use an old rag or sponge, a cloth, and for smaller parts or hard-to-reach corners, a small brush or even an old toothbrush works well.
As a cleaning solution, you can simply use lukewarm water, but there are also special bike cleaners available. With bike cleaner, you can spray all parts of the bike, let the solution sit briefly, and then wipe it off with a rag or sponge. Smaller parts and tight corners can also be cleaned with the solution and then scrubbed with a small brush.
Finally, dry your bike with a clean, dry cloth.
Your Bike Check-up
Now it’s time for the actual check-up. To reach all parts of your bike and to be able to spin the wheels, you can either clamp it into a bike repair stand or simply turn it upside down so it rests on the saddle and handlebars. This will also help prevent it from tipping over easily.
Brake Check: Let’s start with the brake check. Brakes are especially important when cycling – in an emergency, they can even save lives. That’s why you should definitely make sure they still work properly after a long break.
The most important parts you can check yourself are the brake pads and brake cables:
- Brake pads are the small rubber parts on the brakes that press against the rim or brake disc to stop the bike. They wear down over time and need to be replaced regularly. A marking shows when they are too worn out.
- Brake cables are the wires that connect the brake lever on the handlebars to the brake mechanism. When you squeeze the lever, the cable pulls and activates the braking force.
The cables should be free of dirt and rust. Clean them and apply a small amount of grease afterward. Suitable grease can be found at hardware stores or bike shops. More complex brake repairs should be handled by a professional.
Chain: Next, check the chain. Dirt also collects on the chain and should be removed. To loosen it, run the chain through an old rag several times.. Afterward, you should oil the chain. Hold a small bottle of chain oil against it and slowly turn the chain. Be careful not to apply too much oil – the chain only needs to be lightly lubricated. This will get your chain ready for spring again. If the chain needs to be completely replaced, it’s best to consult a professional.
Lights: Now let’s check the lights. First, make sure your headlight and rear light are working. If the bulb is defective, replace it. Sometimes, however, the cables may simply have come loose. Before installing a new bulb, check that all cable connections are secure. If not, you can easily plug them back in.
Handlebars and Saddle: When adjusting the saddle and handlebars, you simply need to make sure everything is still in the correct position:
- Is the height and angle still right?
- Has anything shifted, loosened, or become misaligned?
If everything is fine, you’re almost ready to ride!
Tires: Finally, don’t forget the tire check. Of course, it’s important that your tires have enough air. Before inflating them with a pump, take a closer look at the rims and tire tread. Make sure the rims are not bent. A bent rim can cause the wheel to wobble from side to side while spinning. If that’s the case, the wheel should be trued so it runs straight again. It’s best to look this up online – there are many videos that explain how to true bicycle wheels. Also check whether the tire tread has cracks or other damage. If so, you’ll need to replace the tires. There are plenty of guides and videos online that can help you do this yourself.
Screws: As a final step, tighten all screws you can find on your bike.
Now nothing is holding you back from hopping on your saddle and getting going! How about a long bike ride this weekend? Have fun!
Further information on this topic can be found here:
Friel, C., Walsh, D., Whyte, B., Dibben, C., Feng, Z., Baker, G., Kelly, P., Demou, E., & Dundas, R. (2024). Health benefits of pedestrian and cyclist commuting: Evidence from the Scottish Longitudinal Study. BMJ Public Health, 2(1), e001295. https://doi.org/10.1136/bmjph-2024-001295
Kelly, P., Kahlmeier, S., Götschi, T., Orsini, N., Richards, J., Roberts, N., Scarborough, P., & Foster, C. (2014). Systematic review and meta-analysis of reduction in all-cause mortality from walking and cycling and shape of dose–response relationship. International Journal of Behavioral Nutrition and Physical Activity, 11, Article 132. https://doi.org/10.1186/s12966-014-0132-x